How to choose your selects
To ensure that you take full advantage of your brand spanking new images, we’ve designed a post going over all the important steps you need to know to choose your selects.
step 1: decisions, decisions
Quite honestly, this may be the hardest part 😅, but we have solutions! If you are a brand, think of any topics of interest for blogs/social media posts. I suggest writing up a list of topics and then try to envision the content you would want to create around those posts. Have a little brainstorm sesh and plan some future content - you’ll thank us later.
Do your best to choose images that resonate with you & your brand. If it makes you feel something, it’ll make your audience feel something too - and that’s what we’re going for.
We shoot wide, medium & narrow focus points to give you different perspectives - selecting a good variety of images based on these parameters can be helpful.
Also have a think about where you are going to be sharing your images. What aspect ratios or crops are you going to need? Do you need empty space for text on your website? Do you need horizontal or vertical perspective images? Are you creating a reel for IG? Keep this in mind when making your selections.
step 2: narrow down your selections
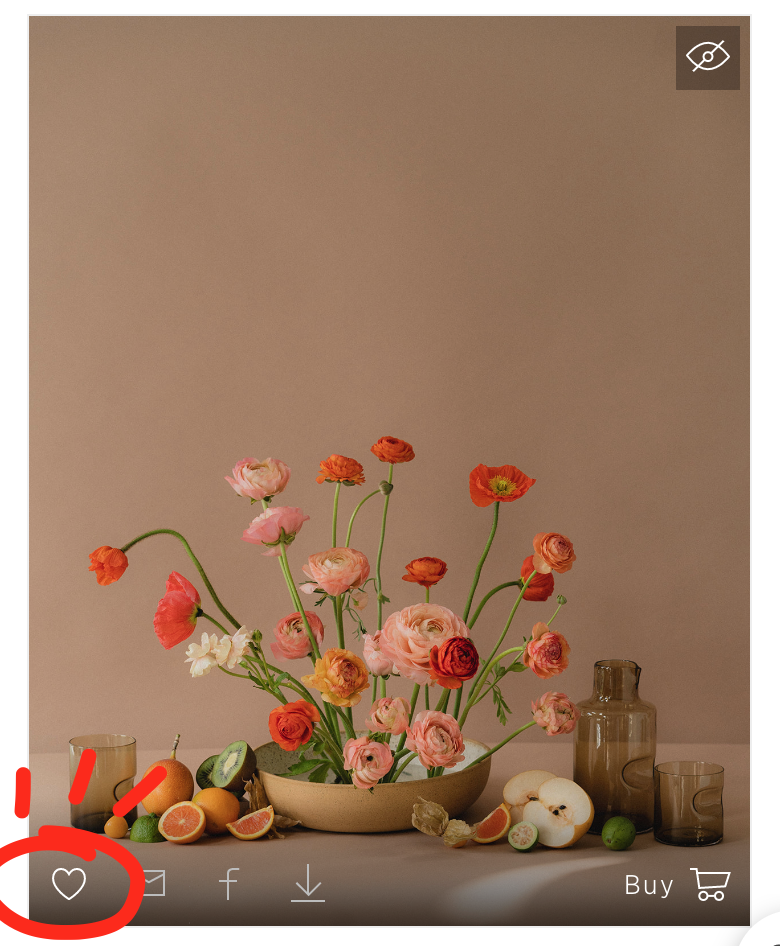
Go through your gallery and click the ‘heart’ ❤️ button in the bottom left corner of each photo that resonates with you. This will mark it as a possible favourite.
All of the “hearted” photos will be saved to a folder at the top right corner of your gallery. From here you can remove images if needed. This makes the decision process a bit easier when you can see all your faves grouped together.
Your session will come with a select number of images. You are always welcome to purchase more! Just include all your selections in your favourites folder, and we’ll invoice you for any additional pics.
step 3: let us know your selections are made
Once you are happy with your selections, shoot us an email to let us know. We will do the final retouching of these images and tell you when they are ready to be downloaded.
Remember your gallery will be available for three months. So you’ll have time to come back and purchase additional photos if you want.
-Dee & Kim


